Every Windows user runs into a problem at some point. Maybe your Wi-Fi suddenly stopped connecting, an app keeps crashing, or you have no idea how to change a setting you’ve never seen before. It happens even to the most experienced PC users like me. The good news is that Windows 11 gives you more ways to get help than any previous version of the OS.
- Integrated Support Apps: Windows 11 includes the “Get Help” app for AI-powered troubleshooting and the “Get Started” app, which offers a guided tour of the operating system’s key features for new users.
- Automated Troubleshooting: Built-in diagnostic tools can automatically detect and resolve common technical issues related to internet connectivity, audio, Bluetooth, and Windows updates via the Settings menu.
- Bing and Remote Assistance:: Users can leverage Bing within the Windows search bar for quick answers or use “Quick Assist” to allow a trusted person to remotely view and control their PC for hands-on help.
- Community and Web Resources: Beyond local tools, the guide highlights the Microsoft Support website for official documentation and the Microsoft Community forums where users can post specific questions for expert feedback.
What surprises most people is the fact that these help resources are already built into Windows itself. You don’t always have to open a browser, search the Internet, or call someone for help. Microsoft has loaded Windows 11 with tools designed to walk you through solutions, connect you to live agents, and even let a trusted friend remotely fix your PC. Most users never discover these options because they’re tucked away in menus they probably haven’t visited yet.
I’ll show you the best ways to get help in Windows 11 gleaning from my 20+ years of experience in the Windows operating system (I actually started with Windows 95 but that’s a story for another day). I’ll also show you how to gather the right information before reaching out, which makes a huge difference in how quickly you get an answer.
Table of Contents
Before You Ask for Help: Gather This Information First
Before you contact Microsoft, post on a forum, or call a friend, take a few minutes to collect the following. It makes every other method in this guide work dramatically better.
1. Your Windows 11 version and build number
Press Windows + R, type “winver”, and press Enter. A small window will appear showing your exact Windows version (e.g., Windows 11 23H2) and OS build number. Take note of this; any support agent or community member will ask for it.
2. The exact error message or error code
If you’re seeing an error, write it down exactly as it appears – including any error code like 0x80070005 or 0xC000021A. Copy it into Notepad if needed. Error codes are extremely specific and often point directly to the cause when searched.
3. When the problem started
Did it start after a Windows update? After installing a new app? After connecting new hardware? This narrows down the cause significantly and saves everyone time.
4. Your device specs (if the issue is hardware-related)
Press Windows + I to open Settings, then go to System > About. You’ll see your processor, RAM, and system type. For GPU issues, right-click the Start button, select Device Manager, and expand Display adapters.
Having these four pieces of information ready before you ask for help is the single most effective thing you can do to get a faster, more accurate solution.
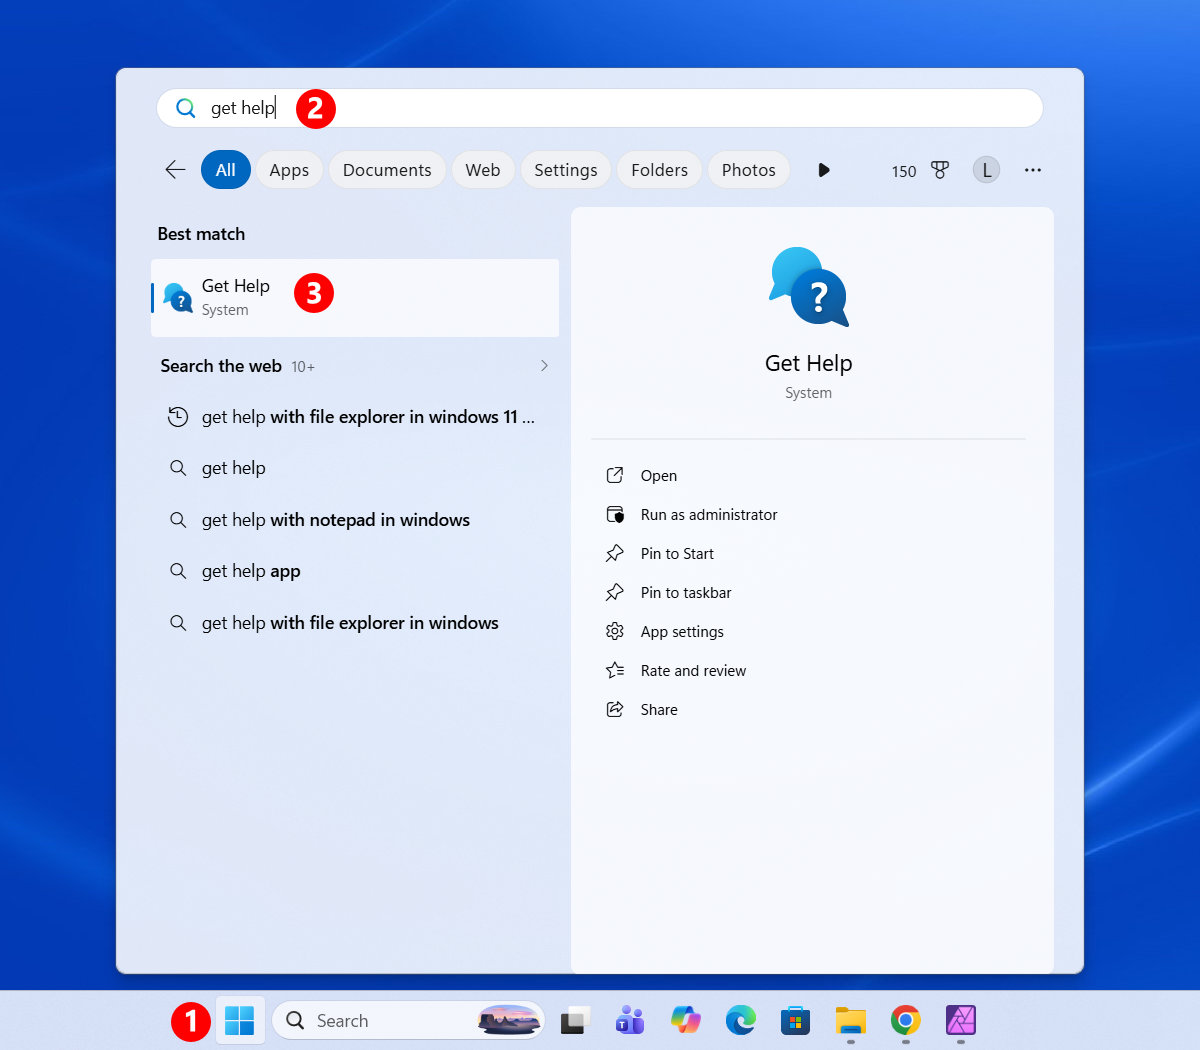
Method 1: Use the Built-In Get Help App
The Get Help app is the most direct route for Windows 11 support. It comes pre-installed on every Windows 11 PC and connects you to a virtual AI agent that can walk you through the solutions step-by-step.
Here’s how to open it:
- Click the Start button on the taskbar.
- Type “Get Help” in the search box.
- Click the Get Help app icon in the results (“Best Match”).
When the app opens, you’ll see a search bar in the middle of the screen. Type your problem in plain English, such as “my Wi-Fi is not working” or “how do I change my display resolution.” The virtual agent will ask follow-up questions and suggest solutions based on your issue.
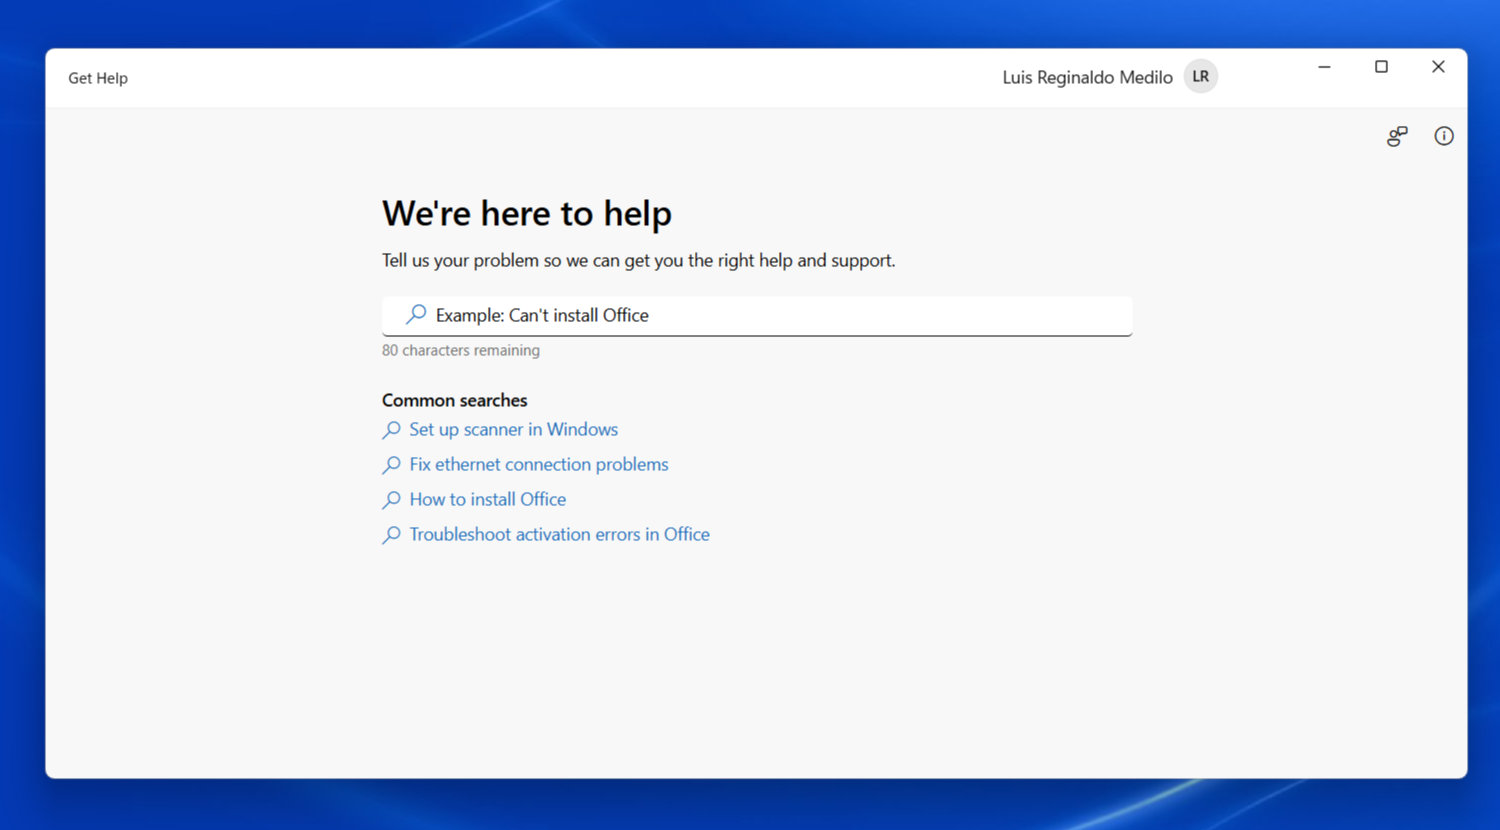
If the virtual agent can’t solve your problem, don’t close the app just yet. At the bottom left of the window, you’ll find a Contact Support button. Clicking this lets you choose which Microsoft product you need help with (Windows, Microsoft 365, Copilot, Xbox, etc.) and then connects you to a live support agent via web chat. Phone support is available but requires a Microsoft 365 subscription.

This is my preferred first stop for any Windows 11 issue because it’s fast, built-in, and doesn’t require you to wade through dozens of websites.
Support hours and wait times: Microsoft’s free chat support for Windows is available 24/7, but wait times vary. Based on my experience, you’ll connect to a live agent within a few minutes during off-peak hours. Expect slightly longer waits on weekends or after major Windows update rollouts.
Method 2: Use Windows Search
If you don’t want to open a separate app, you can get help directly from the Windows 11 search bar. Microsoft has integrated Bing into the Windows search experience.
- Click the Search icon on the taskbar (or press Windows + S).
- Type your question or issue in the search bar.
- Look at the right side of the search panel for the Bing-powered response.
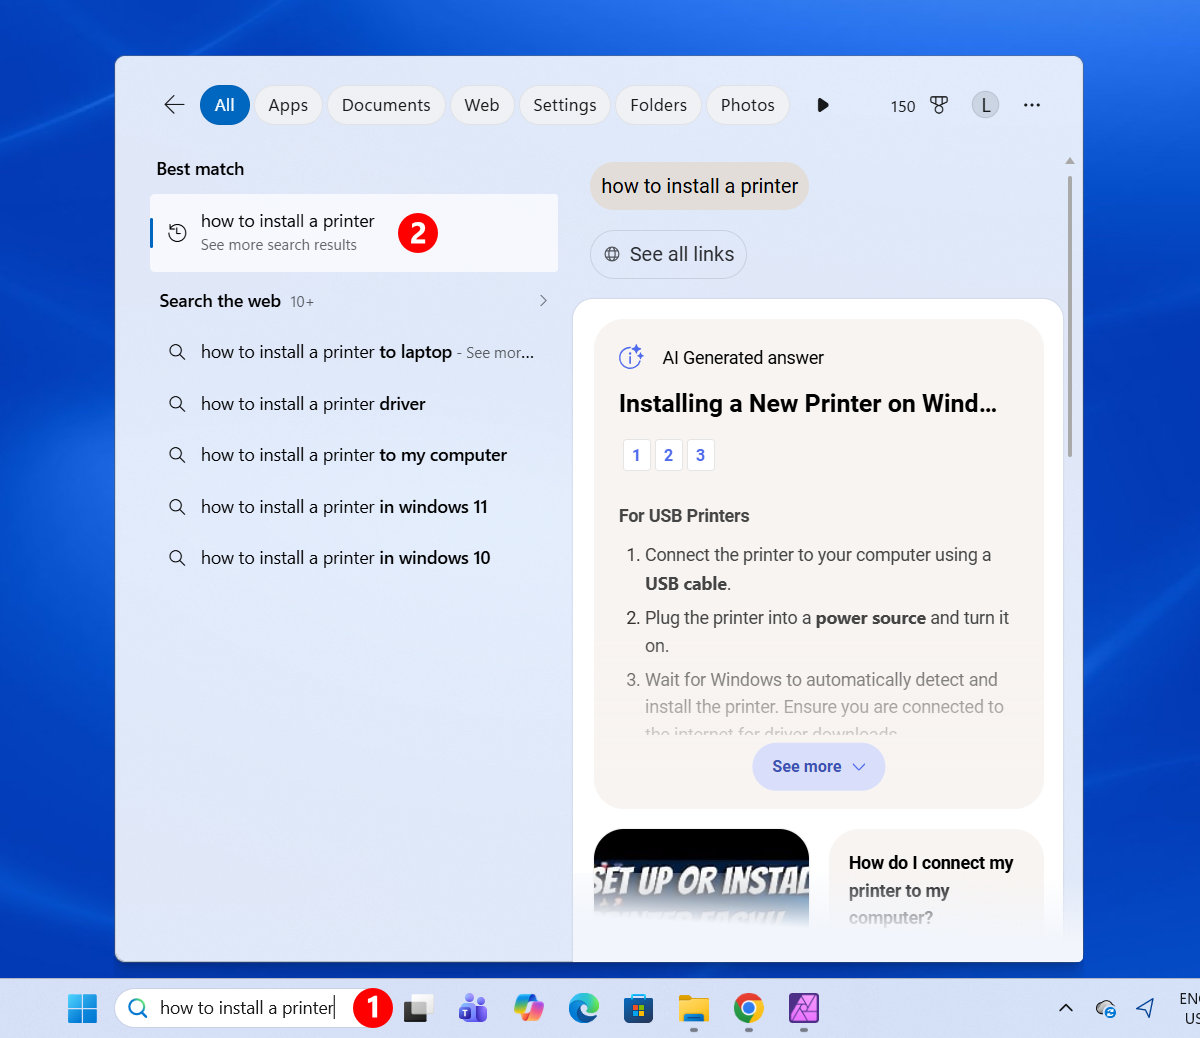
Bing usually summarizes answers in clear bullet points, so you can quickly understand the issue and the recommended fix. For quick questions like “how do I enable dark mode” or “what does this error code mean,” this is honestly the fastest method.
Method 3: Run the Windows Troubleshooter
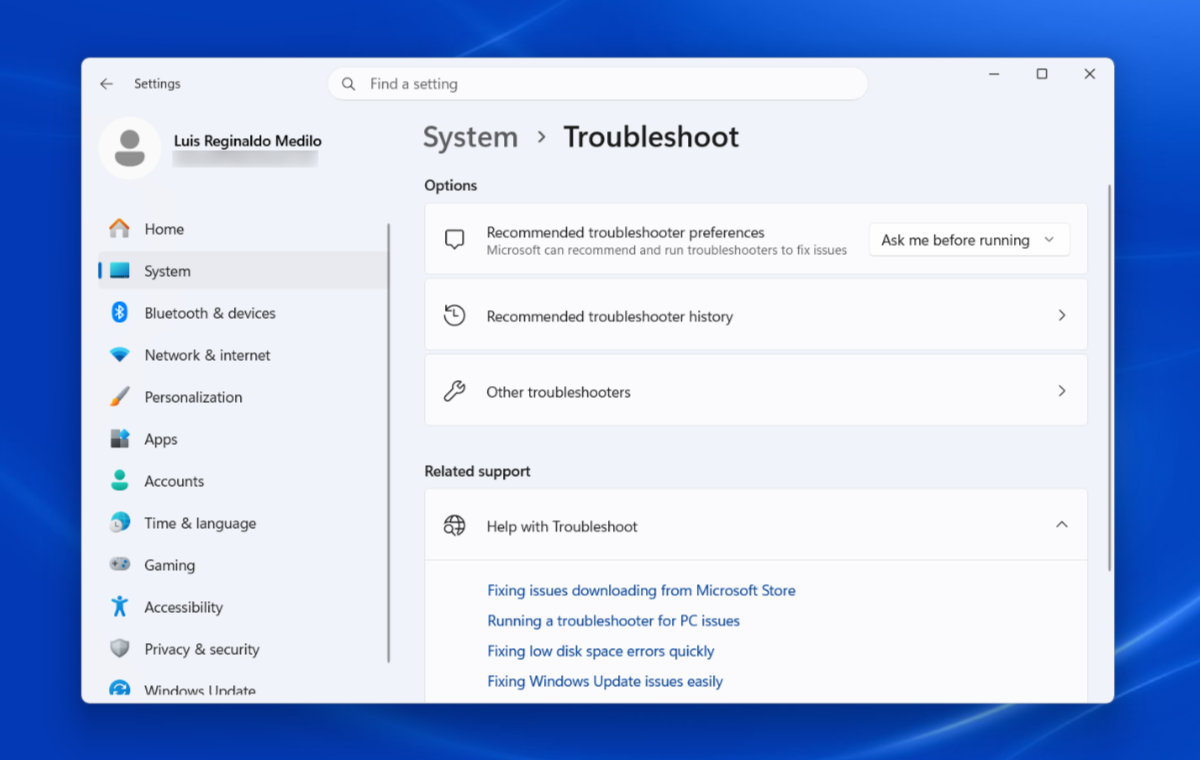
Windows 11 has a set of built-in Troubleshooters, which are automated diagnostic tools that can detect and fix common problems with specific parts of your PC. There’s a troubleshooter for your internet connection, audio, Bluetooth, Windows Update, printers, and more.
To access these Windows troubleshooters, do the following steps:
- Press Windows + I to open Settings.
- Go to System > Troubleshoot.
- Click Other troubleshooters to see the full list.
Here’s a breakdown of the most useful troubleshooters and when to run each one:
| Troubleshooter | Use When… |
|---|---|
| Internet Connections | Wi-Fi or ethernet stops working, pages won’t load |
| Audio | No sound, microphone not working, audio distortion |
| Windows Update | Updates fail to install, stuck at a percentage |
| Bluetooth | Device won’t pair, connection keeps dropping |
| Printer | Printer not detected, print jobs stuck in queue |
| Power | Battery drains too fast, sleep/wake issues |
| Video Playback | Videos stuttering, black screen during playback |
| Windows Store Apps | Apps crash on launch, apps won’t update |
Find the troubleshooter that matches your problem and click Run next to it. Windows will automatically scan for issues and either fix them silently or walk you through the steps needed.
For example, if you can’t open Facebook, just run the Internet Connections troubleshooter first before anything else. It often catches simple issues like an incorrect DNS setting or a disabled network adapter that would have taken you much longer to find manually.
The Windows troubleshooter won’t solve everything, but it’s a great first (or second) choice before you proceed to other methods.
Method 4: Check the Reliability Monitor
This is one of the most powerful (and most overlooked) tools in Windows 11. The Reliability Monitor gives you a visual timeline of every crash, error, and warning on your PC, organized by date. It’s the first place I look when someone tells me their computer has been acting weird lately.
To open it:
- Click the Start menu and type “Reliability Monitor”.
- Click View reliability history in the search results.

You’ll see a graph running from left to right, showing your PC’s stability score over time (1 being worst, 10 being perfect). Below the graph, a detailed log shows every critical event (red X), warning (yellow triangle), and informational event (blue circle) for each day.
Click on any day with a red X to see exactly what crashed, what time it happened, and often the name of the file or driver responsible. Click View technical details on any event to get the full error report.
This is really powerful. If you see the same ntoskrnl.exe entry crashing every day since last Tuesday, that points to a kernel or driver issue. If one specific app shows up repeatedly, that’s your culprit. The Reliability Monitor doesn’t fix anything – but it tells you what to fix and when it started, which is exactly what a support agent will ask for anyway.
Method 5: Read the Event Viewer for Error Codes
If the Reliability Monitor gives you the map, the Event Viewer gives you the full story. It’s a more detailed tool that logs every system event, application error, and security event, including the exact error codes that technicians use to diagnose problems.
To open it:
- Right-click the Start button.
- Select Event Viewer from the menu.
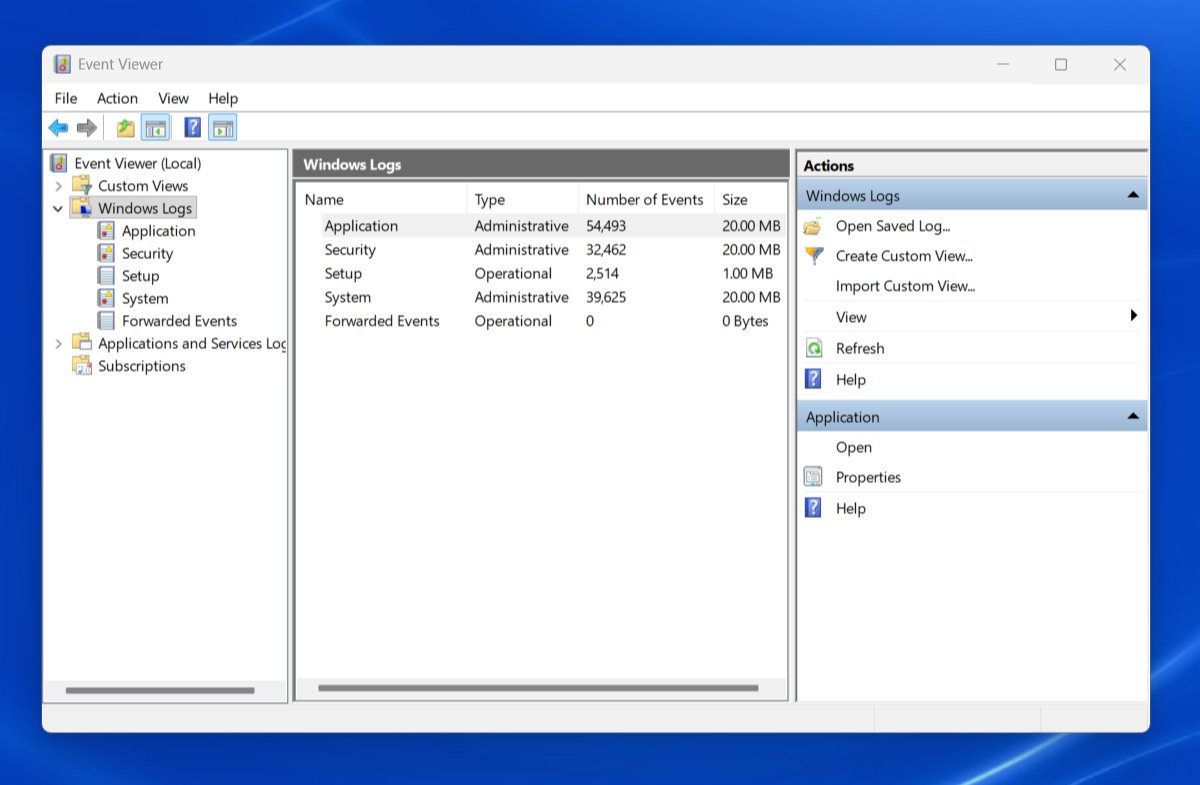
In the left panel, expand Windows Logs and click System or Application depending on your issue. Look for events marked Error or Critical. Click any error to see its Event ID (a number like 41 or 1000) and full description in the bottom panel.
Copy the Event ID and search for it on Bing. You’ll often find an official Microsoft article that explains exactly what caused it.
Common Event IDs worth knowing:
| Event ID | What It Means |
|---|---|
| 41 | Unexpected shutdown (power loss or crash) |
| 1000 | Application crash |
| 7034 | A service terminated unexpectedly |
| 6008 | Previous shutdown was unexpected |
| 10016 | DCOM permission error (usually harmless) |
You don’t need to understand everything in Event Viewer; just find the error and copy the Event ID. That single number can save you hours of guesswork.
Method 6: Use Quick Assist for Remote Help
This one is a hidden gem. Quick Assist is a built-in Windows 11 app that lets someone else remotely take control of your PC (over the Internet) to help you fix a problem. It’s perfect for situations where a family member or IT-savvy friend needs to walk you through something remotely.
Here’s how it works:
For the person receiving help:
- Open the Start menu and search for “Quick Assist”.
- Click Quick Assist to open the app.
- Enter the 6-digit security code from the assistant and click Submit.
- Verify that the person trying to help you is who you expect, then accept the request.
- Wait for your devices to connect.

For the person giving help:
- Open the Quick Assist app.
- Click Help someone under the “Help someone” section.
- Sign in with a Microsoft account if prompted.
- Share your 6-digit security code with the person you’re helping.
- Wait for your devices to connect.
Once connected, the helper can see and control the PC remotely to diagnose or fix the issue directly.
Quick Assist is especially useful in situations where we rely on relatives or friends for technical support but can’t always be physically present. As long as both parties have a working internet connection, this method works seamlessly.
Note: Quick Assist requires a Microsoft account for the person giving help. The person receiving help does not need one.
Method 7: Press F1 for Contextual Help
This is one of the oldest shortcuts in the Windows book. Pressing F1 on your keyboard while on the Windows desktop opens a Bing search for “how to get help in Windows.” It’s not the most targeted method, but it’s still useful as a quick way to open a browser search.
Where F1 really shines is inside Microsoft’s own apps. If you’re working in Microsoft Word, Excel, or Outlook and get stuck with a problem, pressing F1 opens the in-app help panel directly – no browser needed. The help panel is “context-aware,” meaning it tries to show you content relevant to what you’re currently doing in the app.

Take note that in other applications such as Notepad, pressing F1 will open the Bing search results for “get help with Notepad in Windows.”
One caveat: if you’re a gamer or use F1 frequently for other shortcuts, you may have accidentally triggered this before and found it annoying. You can disable this behavior through the Registry Editor by modifying permissions for the file helppane.exe – but that’s a more advanced step, and only worth doing if the accidental F1 presses are constantly disrupting your workflow.
Method 8: Explore the Get Started App
Get Started is wholly different from Get Help – it’s not for fixing problems, but for learning how to use Windows 11 more effectively. If you recently upgraded from Windows 10 or switched from a Mac, this app is worth exploring.
To open it:
- Click the Start menu.
- Search for “Get Started” and open the app.

The app guides you through Windows 11’s key features, such as the redesigned Start menu, Snap Layouts, Widgets, and more. It walks you through setup choices like privacy settings and default apps so you can configure your PC exactly the way you want it.
Think of Get Started as the orientation tour that Microsoft wishes more users would take before calling support.
Method 9: Visit the Microsoft Support Website
Microsoft’s support site at support.microsoft.com is the most reliable source for official, verified fixes. Unlike community posts or YouTube videos, every article here is written and maintained by Microsoft engineers.
What you’ll find there:
- Step-by-step guides for common tasks and settings
- Official documentation for every Windows feature
- An Answer Desk where you can chat with a support agent
- A Virtual Agent chatbot for quick automated help
- Phone and chat support options for Microsoft 365 subscribers
- Windows 11 release notes detailing what each update changes or fixes

When you search for a problem on the site, you’ll usually get results from Microsoft’s own knowledge base, which are more reliable and accurate than random forum posts. For issues related to Windows updates, activation errors, or driver problems, the official site is almost always the best source.
Method 10: Post on the Microsoft Community Forums
If you have an unusual problem that the built-in tools can’t solve, the Microsoft Community forum is your next best option. It’s Microsoft’s official user community where both regular users and Microsoft employees answer questions.
You can access it at learn.microsoft.com/answers, or by clicking Ask the community inside the Get Help app.

Tips for getting a useful answer fast:
- Search for your exact error message or Event ID before posting; it’s likely been asked before.
- Include your Windows 11 version (from winver), a description of what triggers the issue, and the exact error text or code.
- Mention what you’ve already tried. This prevents people from suggesting steps you’ve done.
- Post in the correct category (Windows, Office, Xbox, etc.).
The community is particularly useful for hardware compatibility issues, driver conflicts, and problems with specific apps that don’t have their own official support channels.
Method 11: Search YouTube for Video Tutorials
Never underestimate YouTube. For visual learners or those who prefer to watch rather than read, YouTube has an enormous library of Windows 11 tutorials.
Search for your specific problem followed by “Windows 11”. For example: “Windows 11 bluetooth not connecting fix” or “how to change startup programs Windows 11”. Filter results by upload date (click Filters and select This year) to make sure you’re watching a tutorial that applies to the current version of Windows 11.
Some of the best channels for Windows tutorials include the Microsoft official YouTube channel, as well as independent tech creators who consistently cover Windows fixes in a clear, accessible way.
Quick Reference: Windows 11 Help Methods at a Glance
| Method | Best For | Requires Internet? | Skill Level |
|---|---|---|---|
| Get Help App | General issues, contacting support | Yes | Beginner |
| Windows Search + Copilot AI | Quick questions, simple how-tos | Yes | Beginner |
| Windows Troubleshooter | Automated diagnosis and fixes | Optional | Beginner |
| Reliability Monitor | Finding when a problem started | No | Intermediate |
| Event Viewer | Getting exact error codes | No | Intermediate |
| Quick Assist | Remote help from a friend | Yes (both parties) | Beginner |
| F1 Key | Contextual help in Microsoft apps | Yes | Beginner |
| Get Started App | Learning Windows 11 features | No | Beginner |
| Microsoft Support Website | In-depth official documentation | Yes | Beginner |
| Microsoft Community Forums | Unique or complex issues | Yes | Beginner |
| YouTube Tutorials | Visual step-by-step guides | Yes | Beginner |
Frequently Asked Questions
What is the Get Help app in Windows 11?
The Get Help app is a built-in Windows 11 application that connects you to an AI-powered virtual agent for troubleshooting and support. It can also connect you to a live Microsoft support agent via chat. You can open it by searching for “Get Help” in the Start menu.
How do I contact Microsoft support directly in Windows 11?
Open the Get Help app, describe your issue, and when prompted, click Contact Support. Choose the product category (Windows, Office, etc.) and select either Chat with a live agent in your browser, or a Phone call (which requires a Microsoft 365 subscription).
What should I do if the Get Help app doesn’t solve my problem?
Try the Windows Troubleshooter in Settings > System > Troubleshoot first. If that doesn’t work, visit support.microsoft.com or post your question on the Microsoft Community forums at learn.microsoft.com/answers. For hands-on remote help, use Quick Assist with a trusted person.
Is Microsoft support free for Windows 11?
Basic support through the Get Help app, online chat, and community forums is free. Phone support requires a Microsoft 365 subscription. The Windows Troubleshooter and Quick Assist are also completely free to use.
Why does pressing F1 open a Bing search page?
Pressing F1 on the Windows 11 desktop triggers a built-in help shortcut that opens Bing and searches for “how to get help in Windows.” Inside Microsoft apps like Word or Excel, pressing F1 opens a more useful in-app help panel instead.
Can someone remotely access my PC to help me without my permission?
No. Quick Assist – the built-in remote help tool in Windows 11 – requires you to input a security code and then actively approve the remote connection request. The other person cannot access your PC without your explicit permission at each step.
Final Thoughts
Windows 11 gives you more ways to get help than most people realize – and most of those tools are already sitting on your PC, just waiting for you to use them. For quick fixes, the Get Help app and the Windows Troubleshooter are your best starting points. For remote hands-on help, Quick Assist is genuinely underrated. And when you’ve exhausted the built-in options, the Microsoft Community forums and YouTube are just a search away.
I hope this guide helped you find the right support channel for whatever you’re dealing with. Bookmark this page (press Ctrl + D) so you can come back to it whenever you’re stuck. And if you have a question about Windows 11 that I didn’t cover here, drop it in the comments below. I’ll do my best to help.