
Maybe you need a 2″ x 2″ passport photo but you don’t have the time to go to a photography studio to have it taken. What you can do instead is to make a 2×2 picture in Microsoft Word. After creating the picture in Word, you can then print it or attach it to your documents.
ID photos are often required when applying for jobs, getting a passport, opening a bank account, and other transactions. You can go the traditional route and visit a photo studio to have your ID picture taken. In fact, it’s highly recommended to have a photography studio take your ID picture, as it ensures that your photo is done in a professional manner.
The alternative, if you don’t have the time and motivation to visit a photography studio, is to make the ID photo yourself. You can take a picture on your smartphone or digital camera, and then edit it on your computer to make it look like a real passport photo.
Turning your selfie picture into a high-quality passport or visa photo can be quite challenging, but with the right tools and skills, anyone can do it. In this article, I’ll teach you how to make a 2×2 picture in Microsoft Word, which you can then print and attach it to your official documents.
What is the 2×2 Picture Size?
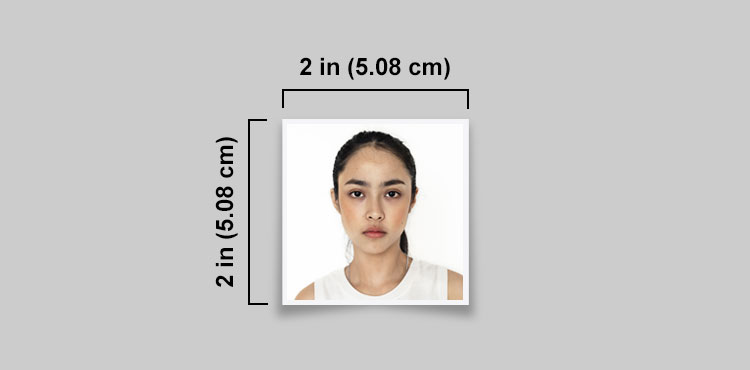
These are the exact dimensions of the 2″ x 2″ picture:
- The 2×2 picture size in inches is 2″ x 2″.
- The 2×2 picture size in cm or centimeters is 5.08 cm x 5.08 cm.
- The 2×2 picture size in mm or millimeters is 50.8 mm x 50.8 mm.
- The 2×2 photo size in pixels is 600 x 600 pixels at 300 DPI.
How to Make a 2×2 Picture in Microsoft Word
Although photos are better edited with Adobe Photoshop or any graphics editor software, Microsoft Word can still do a pretty good job.
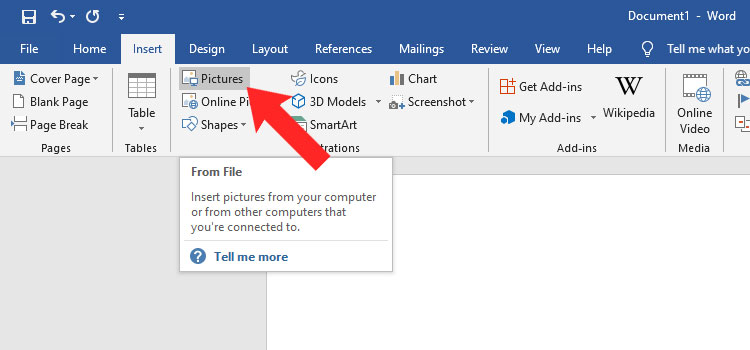
First, open Word and create a new document. Click the Insert tab and then click Pictures.
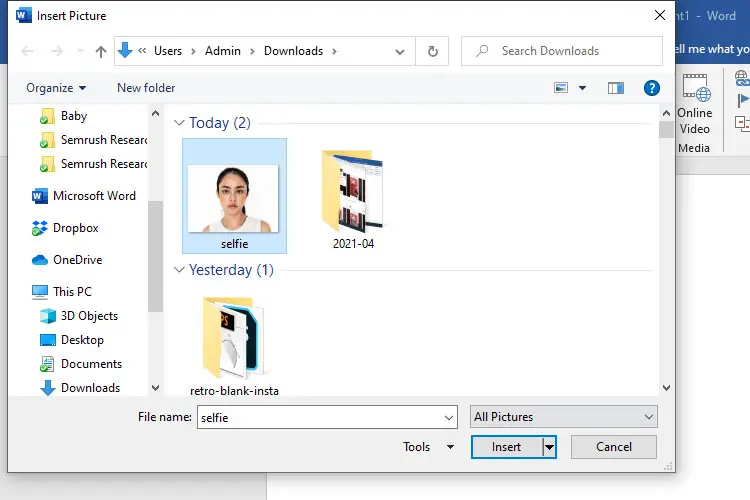
Select the photo that you want to turn into a 2×2 photo. Click the Insert button to insert the picture into your document.
You can also copy the picture (Ctrl + C) and paste it into your Word document (Ctrl + V).
Depending on the size of the photo, it may take some time for the picture to appear in your Word document.
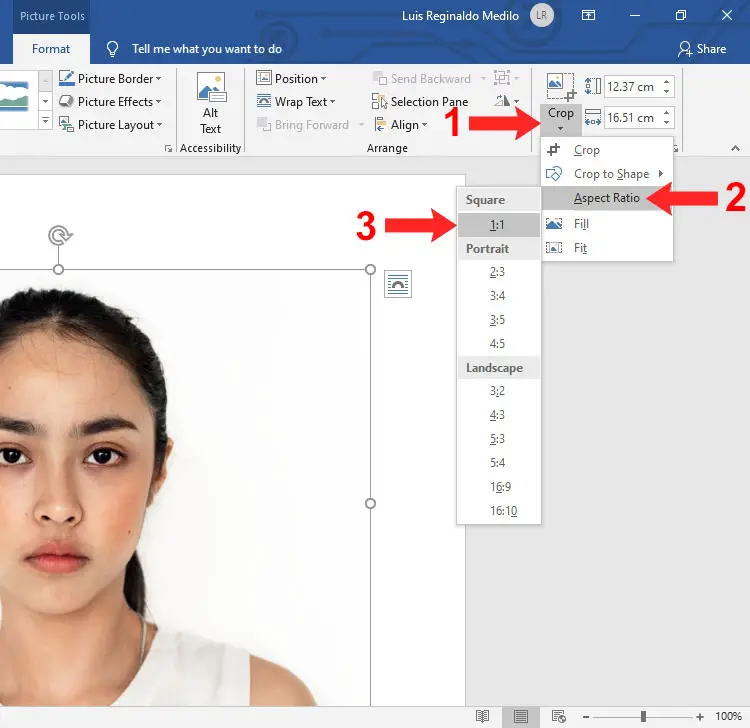
The next step is to click the Crop button under the Format tab. The Format menu contains several image editing options such as cropping, resizing, removing the background, and others. The Format menu can be activated by double-clicking the photo in your document.
After clicking Crop, select Aspect Ratio and then 1:1. This ensures that the edited photo will always have a square shape.
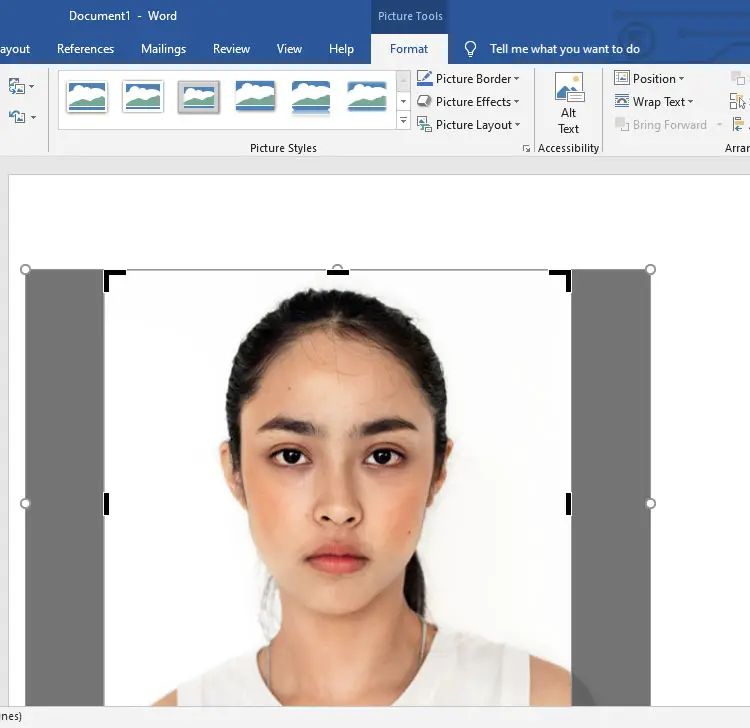
You have now activated the cropping feature. You will notice a square canvas covering the photo. Everything outside the square canvas will be cut out of the photo after cropping.
You can adjust the crop by moving the picture around or by resizing the canvas. You can move the picture around by dragging it with your mouse. To resize the canvas, move the cursor to the black line on the edge of the canvas and then drag it around.
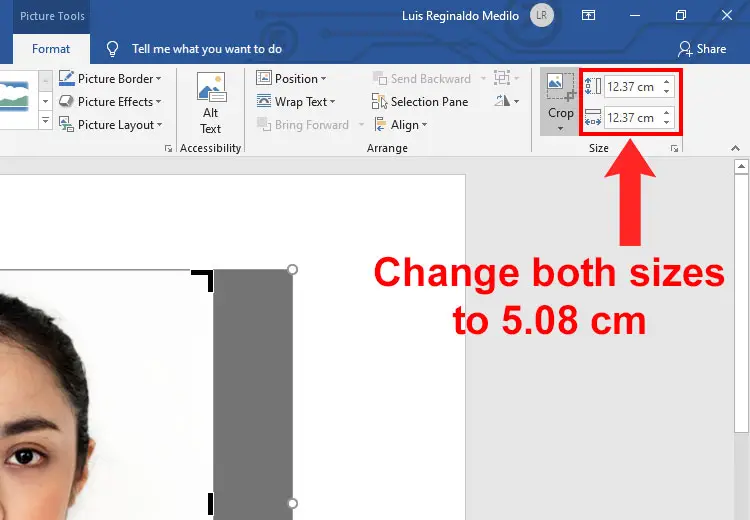
Once you’re satisfied with the appearance of the photo, it’s time to resize it to the 2×2 photo size.
On the Format menu and right next to the Crop button, you will see the height and width of the picture. Change both sizes to 5.08 cm (which is the 2×2 size in cm).
Your photo has now been resized. Complete the cropping by clicking the Crop button once more, or simply click anywhere outside the photo.
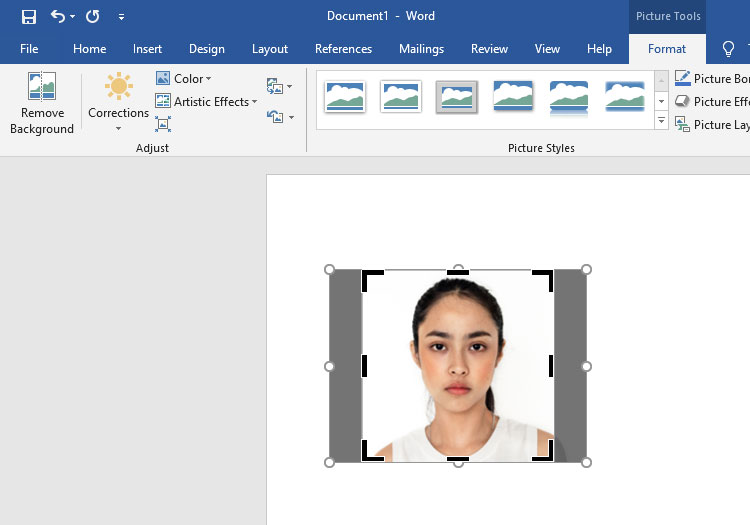
That’s it! You have created an ID picture using Word. You may save the picture to your computer by right-clicking the photo and selecting Save as Picture. You can also print your new picture; just select File > Print or hit Ctrl + P.
You can also edit the picture further by double-clicking the photo to activate the Format menu. Here are some of the image editing options available in Word:
- Remove Background – Remove the background from your picture
- Corrections – Sharpen, soften and adjust brightness or contrast
- Color – Set the color saturation and color tone, or recolor the photo
- Artistic Effects
- Picture Border – Add a border to your picture
- Picture Effects – Add shadow, reflection, glow, bevel and soft edges
Don’t forget to save your document (Ctrl + S) before you close your work.
How to Save Your 2×2 Picture as JPEG or PNG
If you want to save your 2×2 picture as an image file (JPEG or PNG), Microsoft Word provides an easy way to do so.
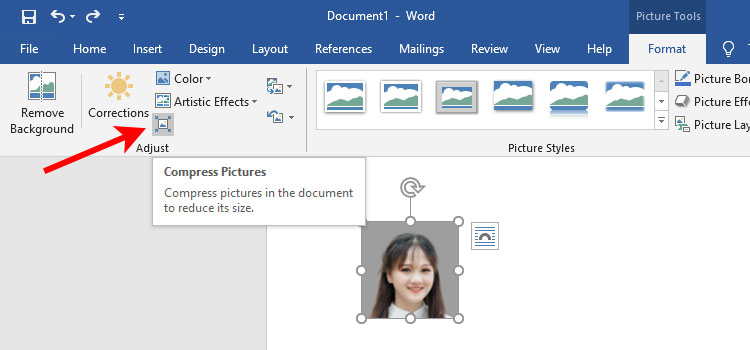
Start by double-clicking the picture, which will launch the Format menu. Click the Compress Pictures icon as indicated on the screenshot image below.
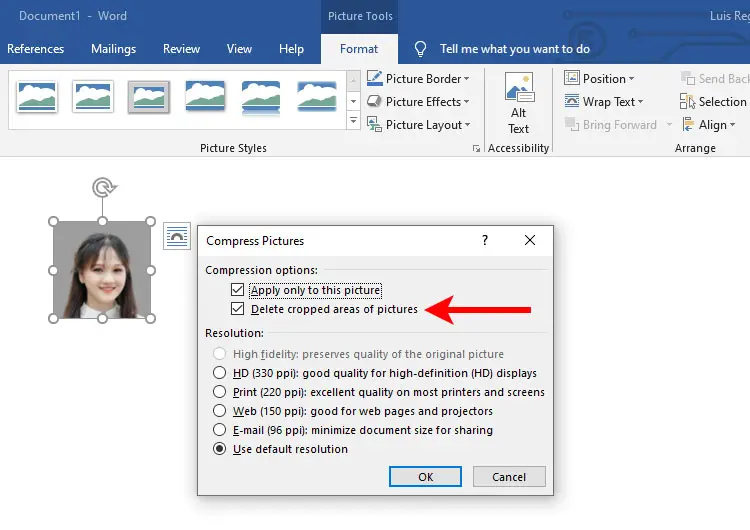
On the Compress Pictures dialog, make sure that the “Delete cropped areas of pictures” is checked.
Optionally, you can uncheck “Apply only to this picture” so that your photo will not be compressed.
Choose your desired image resolution (the default resolution is fine in most cases), and then click OK.
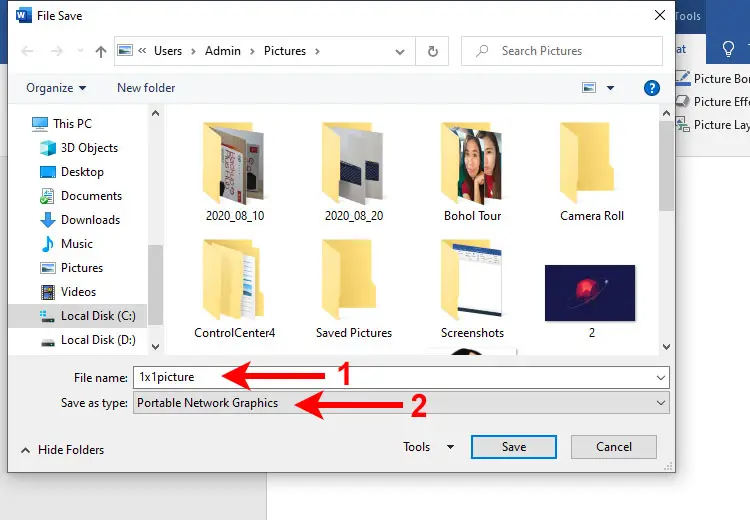
The next step is to right-click on the picture and then select “Save as Picture.”
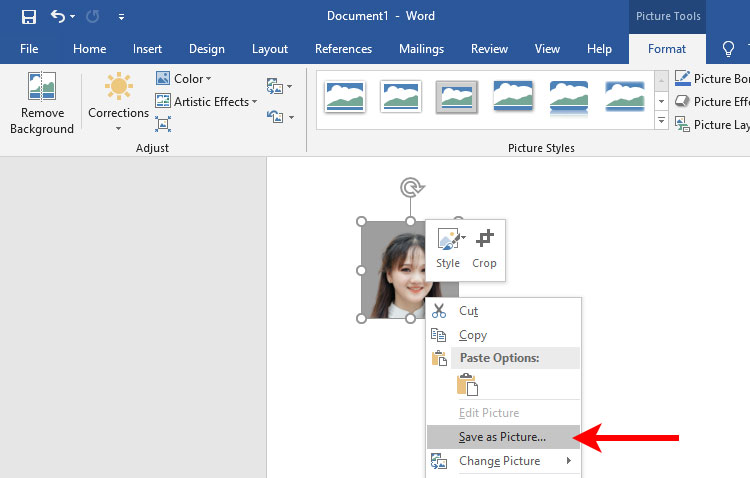
You can now save the picture to your computer. Type the file name of your picture and then select the file type (“Save as type”). For the best image quality, choose either Portable Network Graphics (PNG) or JPEG File Interchange Format.
Finally, click Save to save your photo as an image file.
How to Remove Background From Photo (Optional)
Sometimes, you may have to remove or replace the background of your source photo before transforming it into a ID picture. But how do your remove the background from an image without any photo editing skills?
The quick and easy solution is an background remover tool such as Remove.bg. Thanks to AI technology, Remove.bg instantly removes the background of your photo with just a few clicks. You can even replace the background with the color or image you like!
Just sign up for a free account and upload your picture, after which, Remove.bg will automatically and instantly remove the background. You can click Edit to replace the background or to erase and restore parts of the image.
If you’re happy with the end result, click the Download button to save or download the edited photo.


You can use Remove.bg for free, but if you want a higher resolution photo, you may have to purchase credits or subscribe to a monthly plan. In most cases, the preview image that you can download for free is sufficient for making an ID picture.
An alternative to Remove.bg is Canva, but the background remover feature is available only to Canva Pro, Canva for Teams, Canva for Education, and Canva for Nonprofits users.
Final Considerations
Creating an ID or passport photo is so easy that you don’t have to be a graphic designer to do it. As long as you know how to use Microsoft Word and follow simple instructions, you can learn how to size 2×2 picture in Word and other applications.
So you’ve just learned what is the size of a 2×2 picture in cm, mm and inches. You might also be interested to learn how to make a 1×1 picture in Microsoft Word.


Hello sir, thank you po sa article na ito. It really helps me a lot to comply with our urgent requirement. Thanks for sharing.